- Tel: +86 150 0312 5825
- E-mail: l.wang@sino-marble.com


A buyer asks for "the best size" and expects one number. There is no one number. Stone tile size is not a quality ranking. A bigger tile is not a better tile. It is a heavier tile, a harder tile to lay flat, and a costlier tile to cut. The right question is not how big, but big for what. A bathroom, a kitchen, and an open living room each want a different answer.
Tile sizes are usually given in inches. The common ones are 12x12, 12x24, 18x18, and 24x24. In metric terms, that is about 305x305mm, 305x610mm, 457x457mm, and 610x610mm. Mosaic usually comes on sheets, most often 12x12 inches, with the small pieces already fixed to a mesh backing.
Two things to know about the numbers. First, the size on the quote is the nominal size. The actual piece is very close to it, but not exact. Our marble tile is calibrated to a tolerance of plus or minus 0.5mm, so pieces in one order sit flat together. Second, a size is not a thickness. A 24x24 tile can be 10mm thick, and a 12x12 tile can be 20mm thick. Size and thickness are two separate choices. Thickness was covered in the last article. This one is about size.
Small tiles suit small wet rooms. A 12x12 tile or a mosaic sheet fits a bathroom floor, a shower floor, and the corners and edges around fixtures. The small pieces follow the shape of the room. They are easy to cut around a drain, a toilet base, or a built-in bench.
There is a practical reason too. Small tiles mean more grout lines, and more grout lines mean more grip under wet feet. A shower floor in mosaic is safer than the same floor in one large tile. The trade-off is maintenance. More grout lines mean more lines to clean and to seal. For a shower, that trade is worth it. For a large dry floor, it is not.
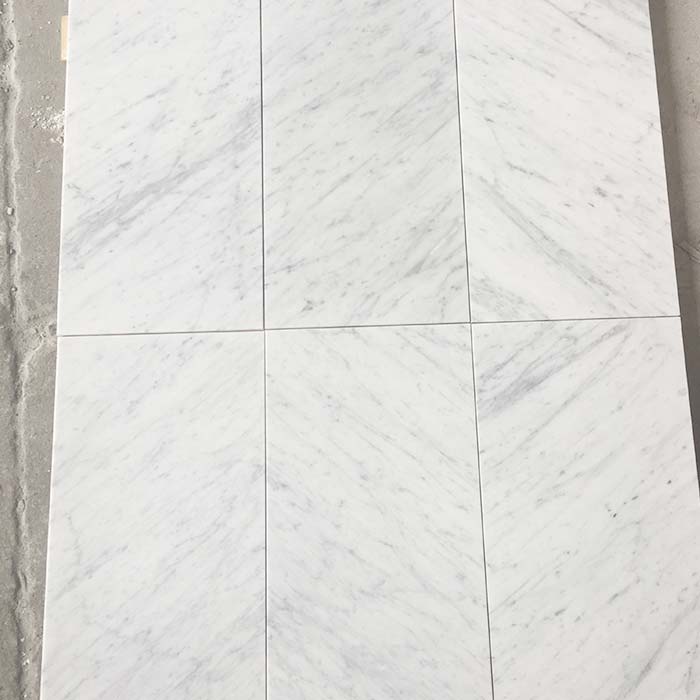
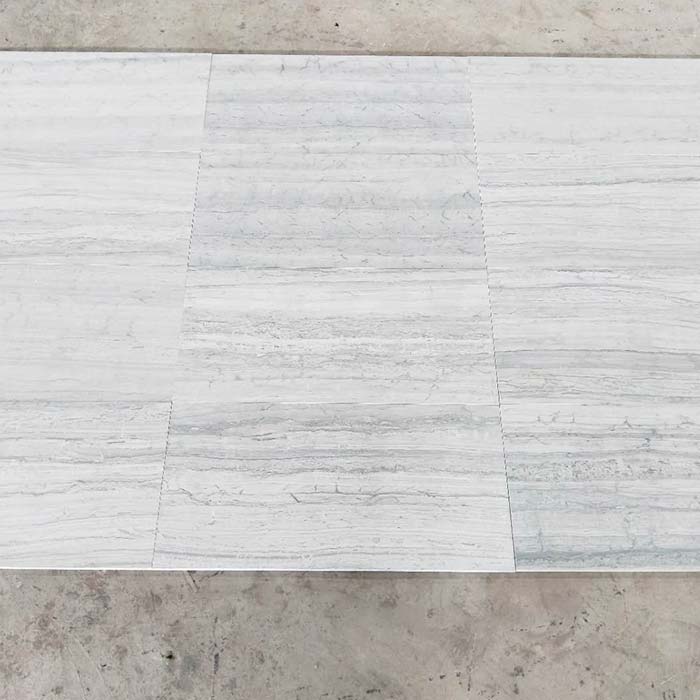
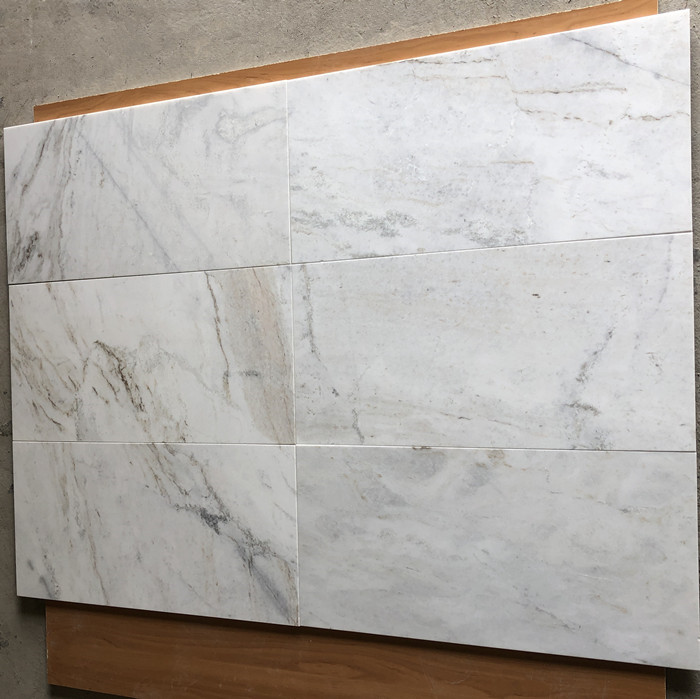
Large tiles suit open floors. A 12x24 or 24x24 tile in a living room, a lobby, or a kitchen makes the floor look bigger and calmer, because there are fewer grout lines breaking it up. Fewer lines also mean less grout to clean.
Large tiles ask more of the floor underneath. They need a flat, level subfloor. A large tile cannot bend to follow a dip the way small pieces can, so a dip under a large tile shows up as lippage, one edge sitting higher than the next. A 1mm difference between batches is enough to cause it. Before you order large tiles, ask your installer to check the subfloor. If the floor is not flat, the fix is in the floor, not in the tile. Large tiles are also heavier to carry and harder to cut, so the labor costs more. That is part of the price of the look.

Here is a simple starting point. Adjust it to the room you have, not the other way round.
A bathroom floor takes 12x12 or mosaic. A shower floor takes mosaic. A kitchen floor takes 12x24 or 18x18, large enough to look calm and small enough to work around cabinets. A living room or open plan floor takes 12x24 or 24x24. An entryway takes 18x18 or 24x24, big enough to handle the traffic and the dirt. A wall in thin stone veneer is a different product, about 2cm thick, and its size is the size of the veneer flat, not a tile size.
If one room has to take two sizes, keep it simple. Use one size on the floor and a smaller size, or mosaic, as a border or a feature strip. Two sizes can work. Three sizes in one room usually look busy.

Size changes the grout and the waste. Small tiles need more grout and more grout lines. Large tiles can take a narrower joint, but the joint is never zero. Stone moves a little with temperature and moisture, and the joint is what takes up that movement. Your installer will set the joint width. Ask what width they plan to use before you order, because it changes how the finished floor looks.
Size also changes how much you order. Every floor has cuts: edges, corners, doorways. Cut pieces are waste, and larger tiles waste more per cut. Order 10 to 15 percent more than the measured area. That is the same overage we recommend for ledgestone and veneer. It covers the cuts, a broken piece, and a spare box for later repairs. Running short and reordering one box costs more than the extra box did, and the new box may come from a different batch.
One, list the size for each area, not one size for the whole job. Two, confirm the calibration tolerance in writing, so the pieces sit flat. Three, confirm the finish for each size, because the same stone can look different at different sizes. Four, agree the grout width with your installer before you order. Five, add the overage to the order, 10 to 15 percent, and keep a spare box.
Match the size to the room, and the size will stop being a problem. A tile that fits its room looks right, lays flat, and wastes less. A tile that does not fit fights the room from the first cut.
Tell us where your stone is going and what goes on top of it. We will confirm the size and the thickness for each area before production starts.
— The Sino-Marble Team